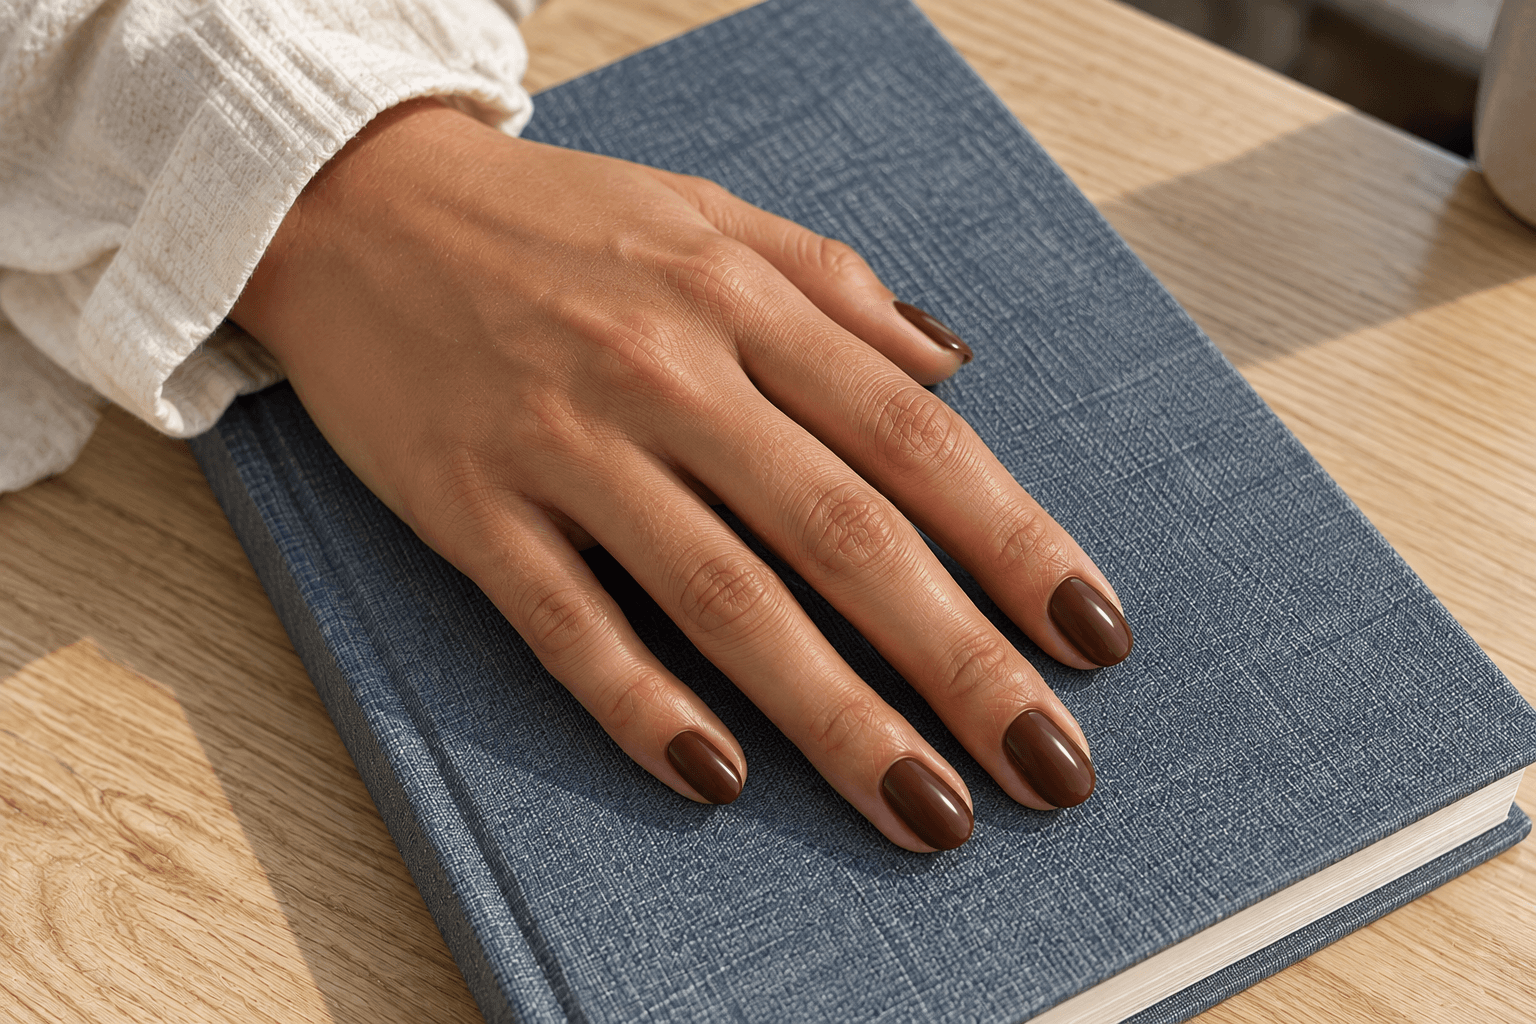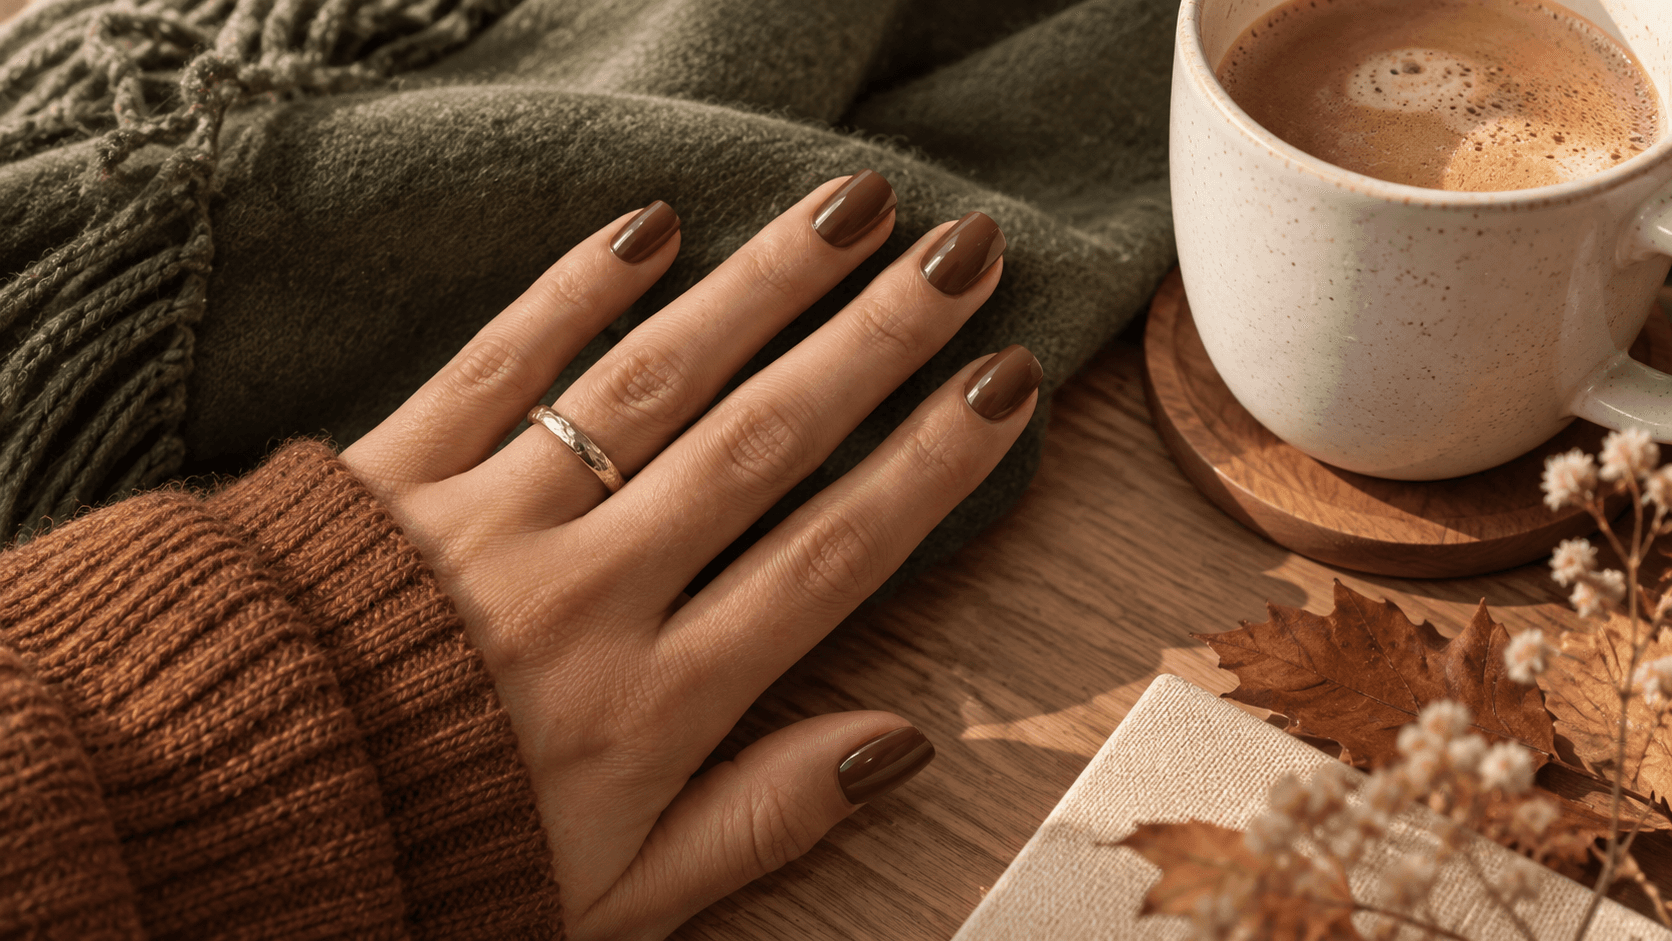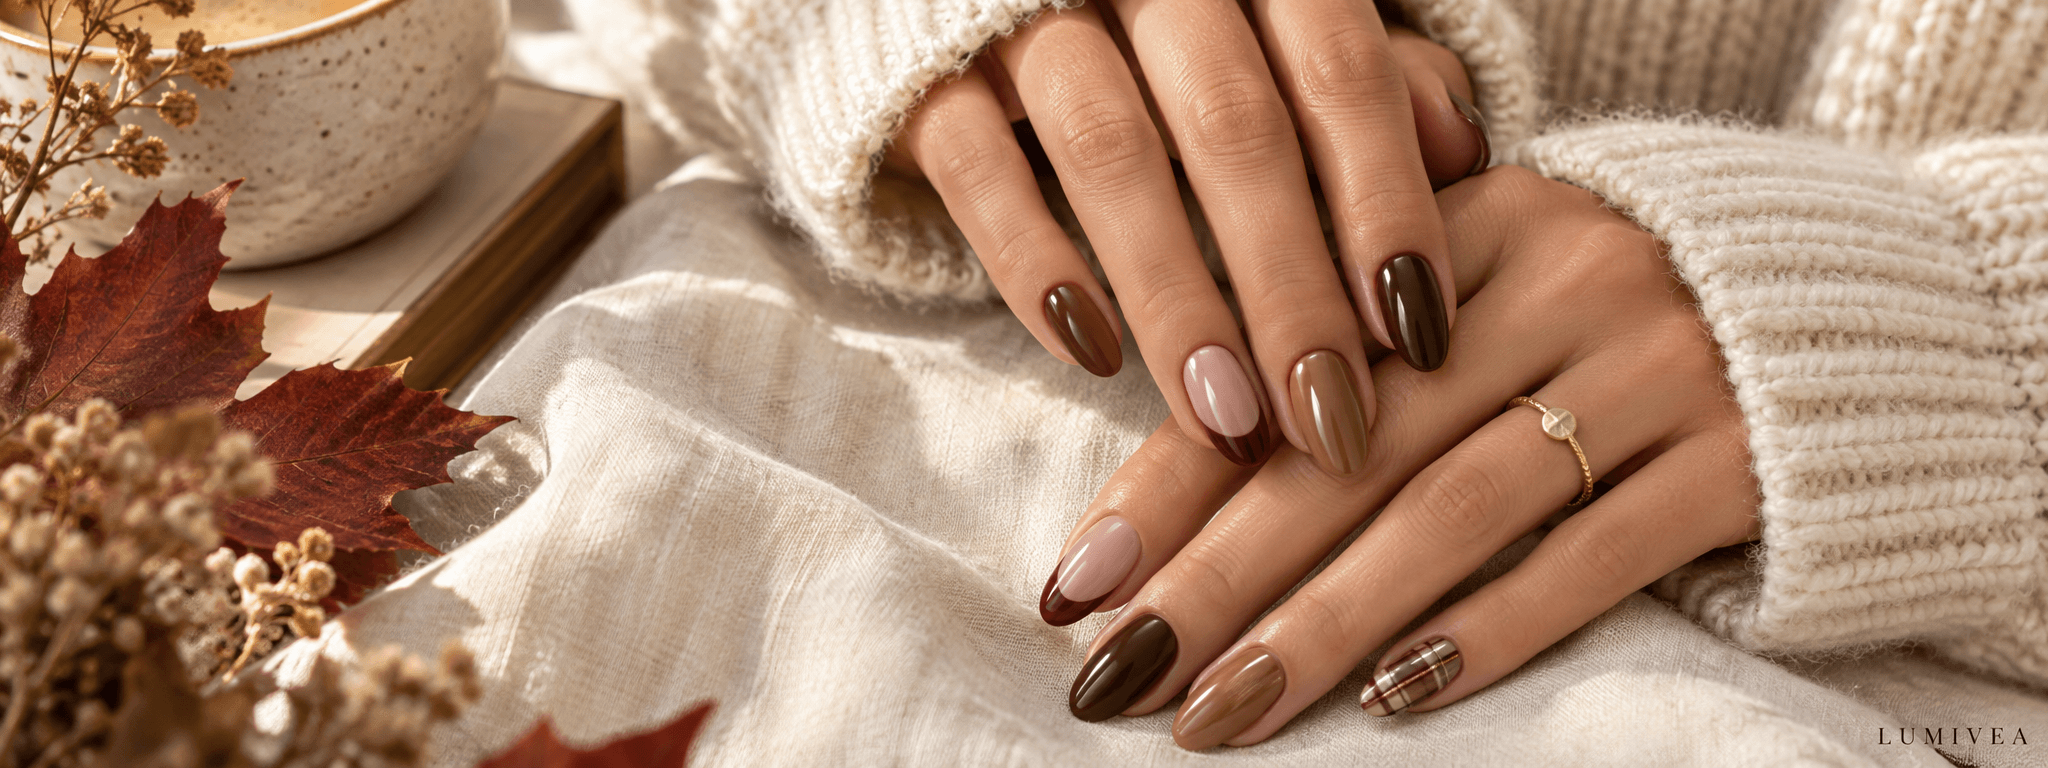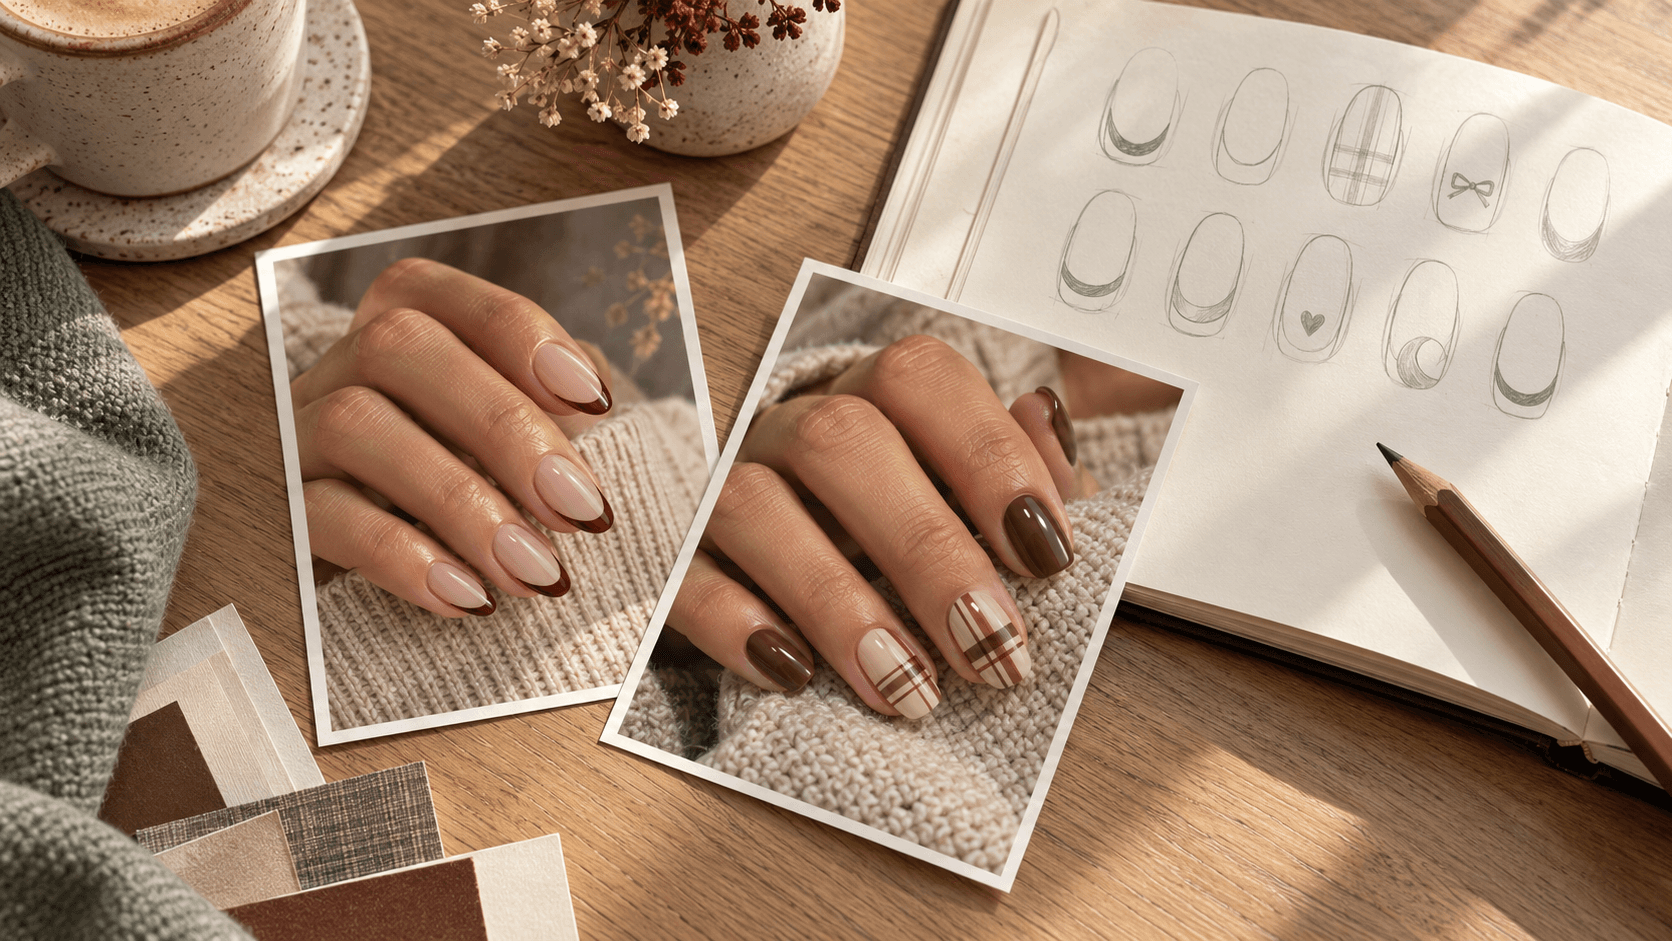
Your saved folder contains a beautiful brown manicure, a tiny ghost, three different French tips, and a plaid set you meant to come back to. Each one made sense when you saved it. Together, they are giving the group project nobody agreed to lead.
A nail reference brief brings those ideas into one clear conversation. It is a short note explaining which parts of an image you like, where you want the detail, and what you are happy to adapt. You do not need technical vocabulary or a perfectly designed moodboard. A few specific sentences beside a useful picture can do more than twenty screenshots.
This guide walks through seven steps, then gives you three filled examples and a copyable template. The goal is to help you communicate a decorative look before an appointment, with room for the professional to discuss what they can offer. The brief describes your preferences; it is not a set of application instructions or a guarantee of an identical result.
The illustrative images in this guide are AI-generated concepts, not photographs of client appointments or evidence of product results. The brief and examples are original planning resources.
Go straight to the copyable brief, the filled examples, or the message to send before an appointment.
What a nail reference brief should answer
A useful brief separates the picture from the request. You might like the brown in a reference without wanting its length, its metallic finish, or the large flower on the thumb. Unless you explain that, every visible feature can look like part of the instruction.
| Part of the brief | Question it answers | Example |
|---|---|---|
| Main reference | Which picture leads? | The brown French-tip image |
| Color and finish | Which visual qualities matter? | Chocolate tips, pale pink base, glossy appearance |
| Outline and length | What silhouette are you asking about? | Short, softly squared; discuss available options |
| Placement | Where does each detail go? | A thin tip on every nail, no accent motif |
| Priority | What matters most if the idea changes? | Keep the tips narrow and the base visible |
| Flexibility | What could be adapted? | The exact brown shade |
| Questions | What needs agreement beforehand? | Available service, time, and quoted total |
Notice how little of this is jargon. “Leave plenty of the pale base showing” may communicate your intention more clearly than a trend name that means slightly different things to different people.
1. Choose one main picture and give every extra image a job
Start with the image that comes closest to the overall look you want. It does not have to get everything right. It simply gives the conversation a starting point.
Then decide whether you need another image at all. A second picture is useful when it answers a separate question: the color you prefer, a closer view of one motif, or how the whole set is arranged. If it shows another equally tempting manicure with no explanation, it may add a choice rather than clarify one.
For example, you could write: “Image A is the overall layout. Image B is only for the brown color. Please ignore the length and chrome finish in B.” That last sentence does real work. Without it, you have accidentally requested more than you meant to.
A practical starting point is one main reference and up to two supporting images. That is an editing choice for this guide, not a salon rule. If one picture explains the idea clearly, stop there. Your folder can contain fifty possibilities; your final brief can make one decision.
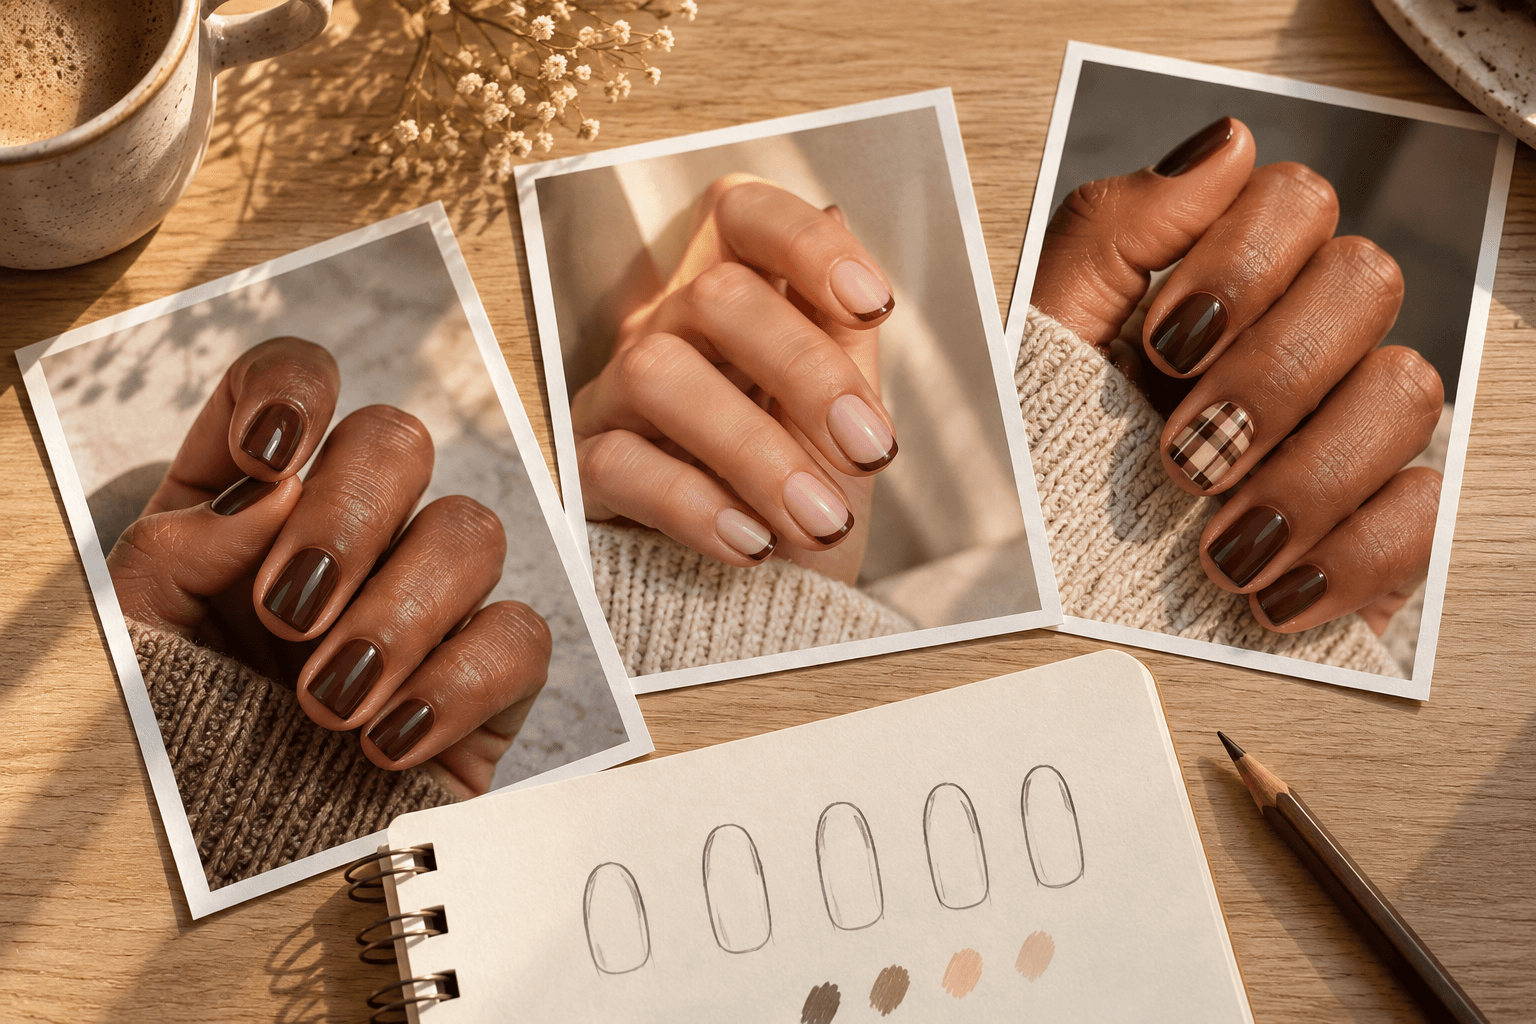
Keep the original source link or creator handle with saved references when you have it. It helps you return to the complete image and understand where it came from. Do not crop away an artist mark to present someone else’s work as your own.
2. Say exactly what you like—and what you are leaving out
Try finishing this sentence: “The part I want to keep is…” It forces a more useful choice than “I love the vibe.”
You might want the empty space around a tiny motif, the narrowness of a French tip, or the way one light accent interrupts four dark nails. Those details explain the design. Words such as classy, cozy, and minimal can describe your reaction, but they do not identify what should appear on the nail.
Now finish a second sentence: “I am not asking for…” This is especially helpful when a reference contains a raised decoration, a different length, or an extra pattern you do not want. You are not criticizing the original. You are deciding which part belongs in your own brief.
| Vague wording | More useful wording |
|---|---|
| Something subtle | One small motif on each ring nail; other nails plain |
| Like the picture, but simpler | Keep the brown tips; leave out the flower and metallic border |
| Autumn colors | Chocolate brown with a pale oatmeal accent |
| A little plaid | One full plaid ring nail per hand, with broad open spaces between the lines |
Choose one or two priorities rather than declaring every feature essential. If the most important thing is a tiny ghost, the exact base shade may be flexible. If you came for a deep brown color, the accent might be optional. A brief becomes easier to adapt when it has a clear order of importance.
3. Separate the color from the finish
Color is the hue you are describing; finish is the surface appearance. A chocolate brown with a glossy reflection is a different visual request from chocolate brown with a soft matte appearance or a strongly reflective metallic effect.
Write them on separate lines. “Color: warm chocolate brown. Finish: glossy, without glitter.” That takes a few seconds and removes an entire category of guesswork.
Color names are starting points, not exact matches. One person’s mocha may look grayer or lighter than another’s. If you need help choosing a direction, compare the examples in our mocha, chocolate, and espresso guide, then use the reference image alongside the words.
For a multicolor look, name the roles as well: “Pale pink background, chocolate tip, no third color.” A brown-and-pink reference could otherwise mean pink tips on brown nails, which is a perfectly different manicure.
Photos and screens are not reliable exact shade specifications. Ask to discuss the available colors rather than attaching a screenshot and expecting the identical color under every light. If an image is generated, it also cannot identify a real polish bottle or prove how a material will look in person.
4. Describe the outline and length separately from the pattern
A design saved on a long almond nail can still be useful as a color or motif reference. It does not mean you are requesting that entire silhouette. State the distinction early: “I like the pattern, but I want to discuss a short, softly squared version.”
Use familiar language if shape names feel unclear. Rounded corners, a curved tip, or a straighter edge are useful descriptions to discuss. You do not have to arrive speaking in a glossary.
Then acknowledge that the amount of detail may change with the available space. A broad plaid pattern might show fewer crossings on a shorter nail. A tiny illustration might need a simpler outline. Our short nail design guide explores these placement choices without treating one length as better than another.
The practical question is “Which part of this pattern can we keep clear at the length I prefer?” That invites a useful answer. “Make it exactly the same, just much smaller” can hide a tradeoff you have not yet discussed.
5. Map the detail across both hands
“An accent nail” sounds specific until you try to draw it. Does it mean one nail total? One on each hand? A thumbnail? A ring nail? The difference matters, particularly when a reference shows only one hand.
Write the distribution in ordinary language: “One plaid ring nail on each hand; all other nails chocolate.” If both hands match, say so. If they differ, describe each separately.
| Finger | Left hand | Right hand |
|---|---|---|
| Thumb | Plain chocolate | Plain chocolate |
| Index | Plain chocolate | Plain chocolate |
| Middle | Plain chocolate | Plain chocolate |
| Ring | Oatmeal plaid | Oatmeal plaid |
| Little | Plain chocolate | Plain chocolate |
For partial designs, say where the boundary belongs. “Plaid inside the tip only” is different from a grid that continues down the nail. “Ghost near the outer corner” is different from a centered ghost covering most of the surface.
A rough sketch can be helpful here. Draw five simple outlines and mark the pattern locations. It does not need to look like a hand. You are making a map, not submitting an art-school portfolio.
6. Add your practical limits and one simpler alternative
A clear visual idea still needs a conversation about the appointment. Ask whether the provider offers the requested design and which booking option fits it. Share the images through their preferred contact method before the appointment when possible, rather than assuming a booking label covers every pictured detail.
If you have a maximum total budget or a firm leaving time, say so before agreeing to the plan. Ask what the quote includes and whether the reference changes the expected time or price. This guide does not estimate either; those details belong to the provider and the actual service.
Useful wording is straightforward: “Please confirm the total before we settle on the design,” or “I need to leave by this time; is this idea suitable for the available appointment?” You are giving information that helps the discussion.
Now choose a simpler version you would still like. For plaid, that might be one accent instead of a full set. For a small seasonal motif, it could mean keeping one symbol and leaving out a decorative border. A fallback should preserve your main priority, not become an unrelated look you agreed to because you felt rushed.
7. Read the brief as if you had never seen your saved folder
Before sending it, check for contradictions. Does the text say plain nails while the main image shows a pattern on every finger? Are you requesting a metallic finish but writing “no shine”? Does “one accent” agree with your map of both hands?
You can clear up most of these by adding one short sentence about which information takes priority. For example: “Use the image for color only; the written layout is the version I want to discuss.”
Save the final references together, with the brief at the top. If you have twenty older alternatives mixed in, you may end up reopening decisions you have already made. Keep those in a separate folder for another time.
At the appointment, a quick recap is still worthwhile: “So we are keeping the short outline, narrow brown tips, and plain pink base?” This is a chance to confirm a shared plan, not an expectation that a photograph can prescribe every detail.
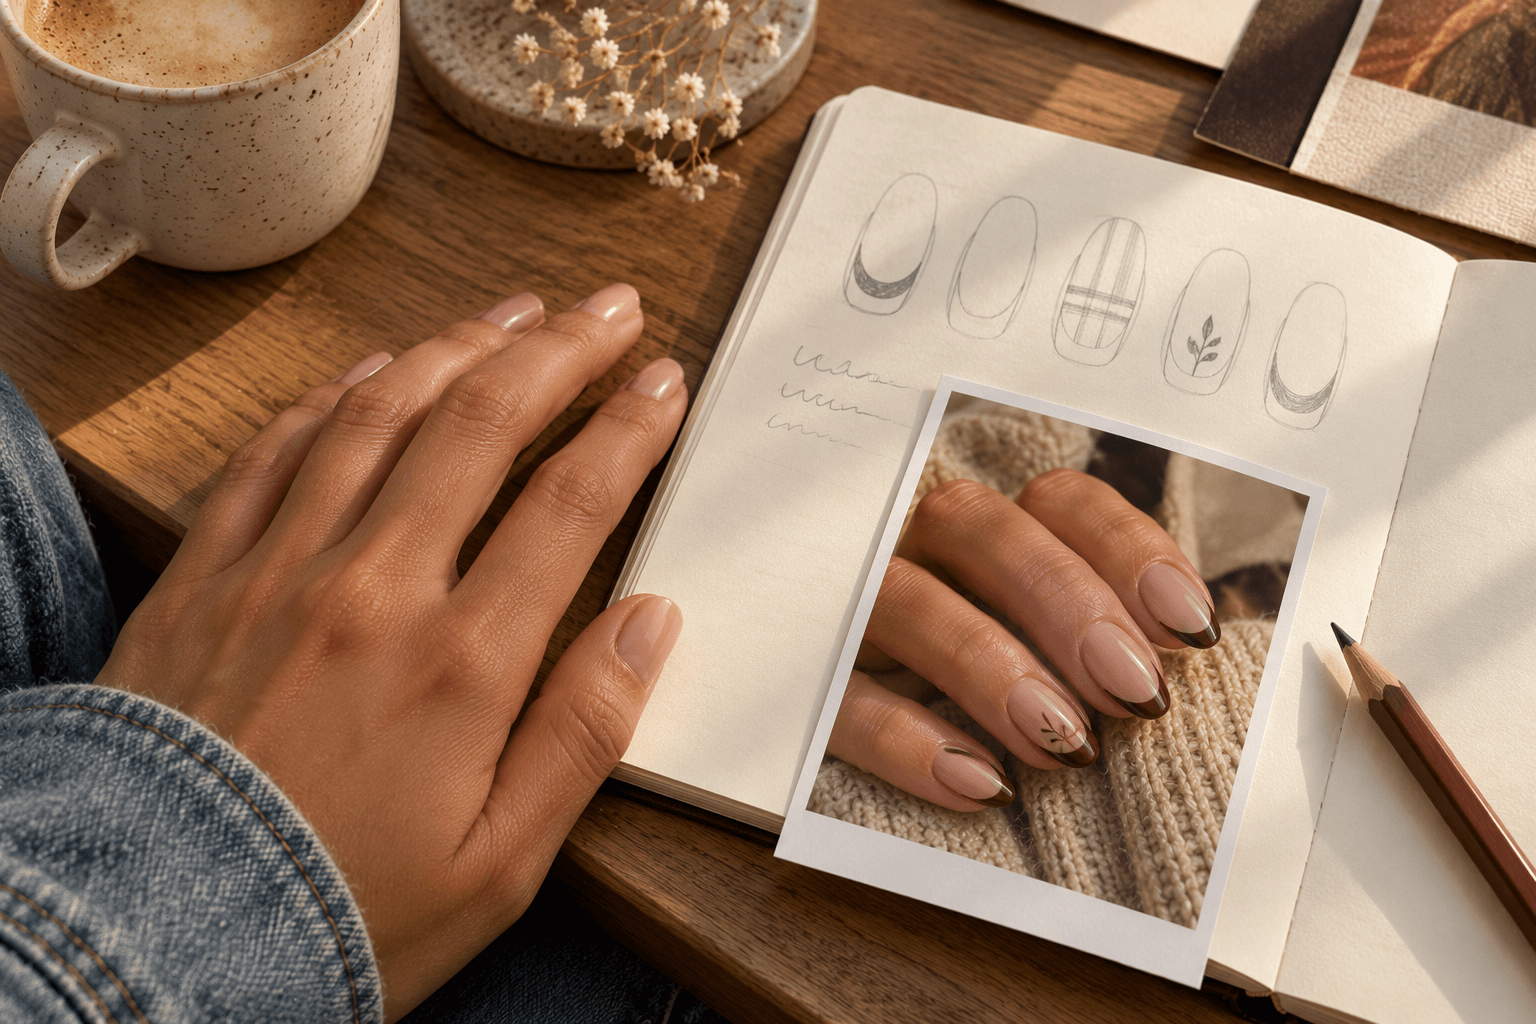
Copy this nail reference brief into your notes
Copy the labels below and add your preferences after each one. It is fine to write “please advise” where you are undecided. A useful brief identifies open questions as well as decisions.
Main reference:
What I like about it:
What I am leaving out:
Supporting image and its purpose:
Color roles—base, main detail, optional accent:
Finish:
Preferred outline and length to discuss:
Left-hand layout:
Right-hand layout:
My most important detail:
What I am flexible about:
Simpler alternative:
Budget or timing limits to confirm:
Questions before booking:
Reference source or creator:
For a very simple design, you do not have to fill every line. The short version is: one image, what you like, the layout you want, and what needs discussion. The fuller version helps when you are borrowing different details from several pictures.
Three filled examples: from inspiration to a clear request
These are fictional planning examples, not accounts of real appointments. Each shows how to turn a visual preference into a brief without inventing product names or promising a result.
Example 1: Narrow brown French tips
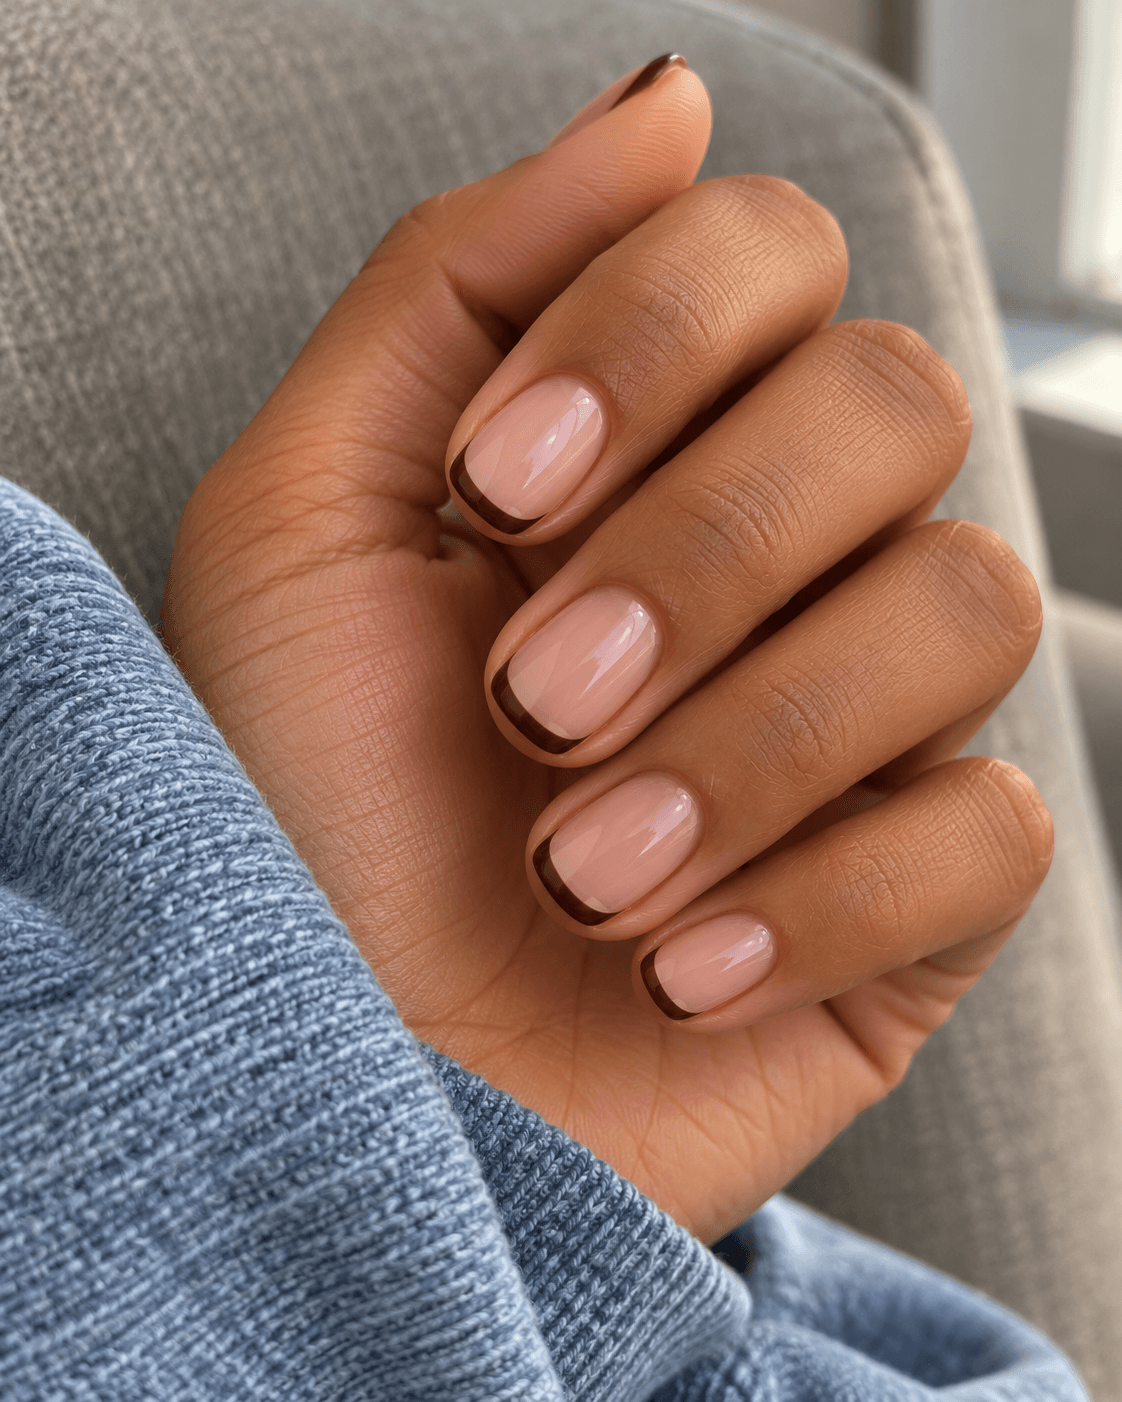
The starting thought: “I like these brown nails, but I do not want much brown.”
That is not contradictory. The person likes the color but wants it to occupy only a small part of the nail. The brief should preserve that distinction.
“My main reference is the thin brown French-tip image. I like the chocolate edge against the pale pink base. I want a short, softly squared outline to discuss, with a narrow curved tip on every nail and no separate accent. A glossy appearance is my preference; I am not asking for glitter or a metallic effect. The important part is keeping plenty of the pink base visible. I am flexible about the exact brown shade. Please confirm whether this design fits the booking option and quoted total.”
Why it works: The request names the color roles, amount of coverage, outline, finish, and absence of an accent. It does not rely on “minimal” to communicate all five.
Example 2: One plaid accent per hand
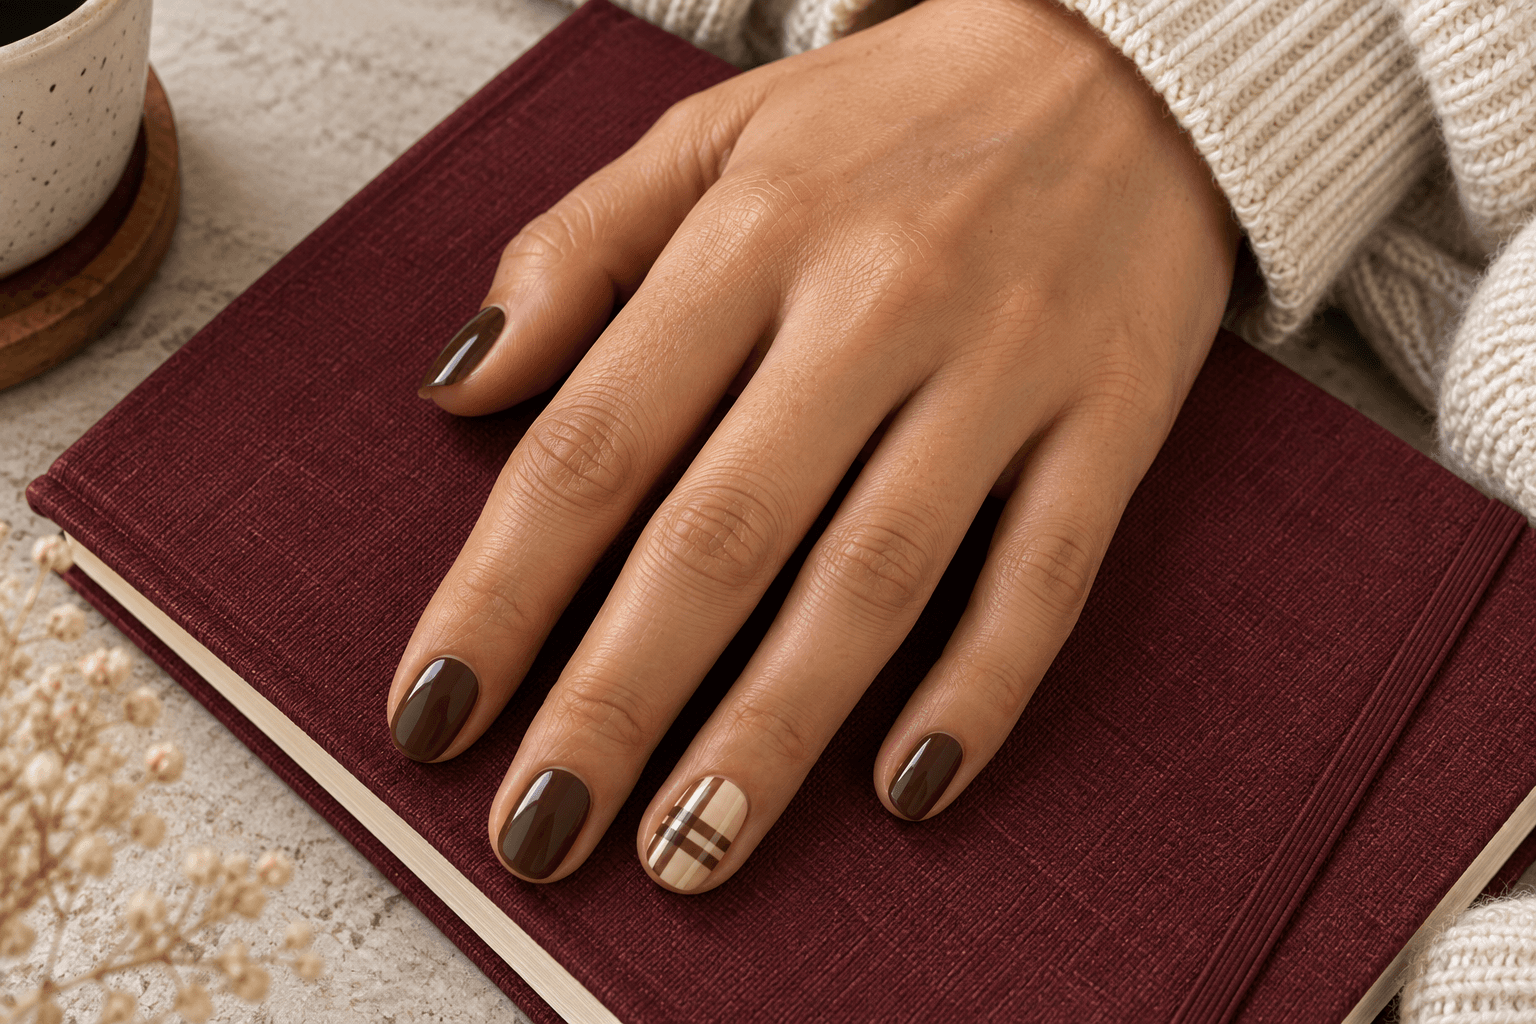
The starting thought: “I want something like this autumn plaid, but the whole set feels busy for me.”
The useful change is the distribution. Keep the palette and the grid you like, then reduce the number of patterned nails. Our fall plaid nail ideas compare several ways to do that.
“I like the oatmeal background and cocoa bands in the plaid reference. I would like to discuss one full plaid ring nail on each hand, with all the other nails plain chocolate brown. Both hands should follow the same layout. My preferred outline is short and oval. Please keep the spaces between the plaid lines broad; the exact number of squares is flexible. If the pattern needs simplifying, I would rather remove a fine detail than add more patterned nails. Could you confirm the time and total for this version?”
Why it works: “One per hand” resolves the accent count, and the fallback explains how to simplify while retaining the look. A close-up of plaid alone would not communicate either point.
Example 3: A tiny Halloween detail
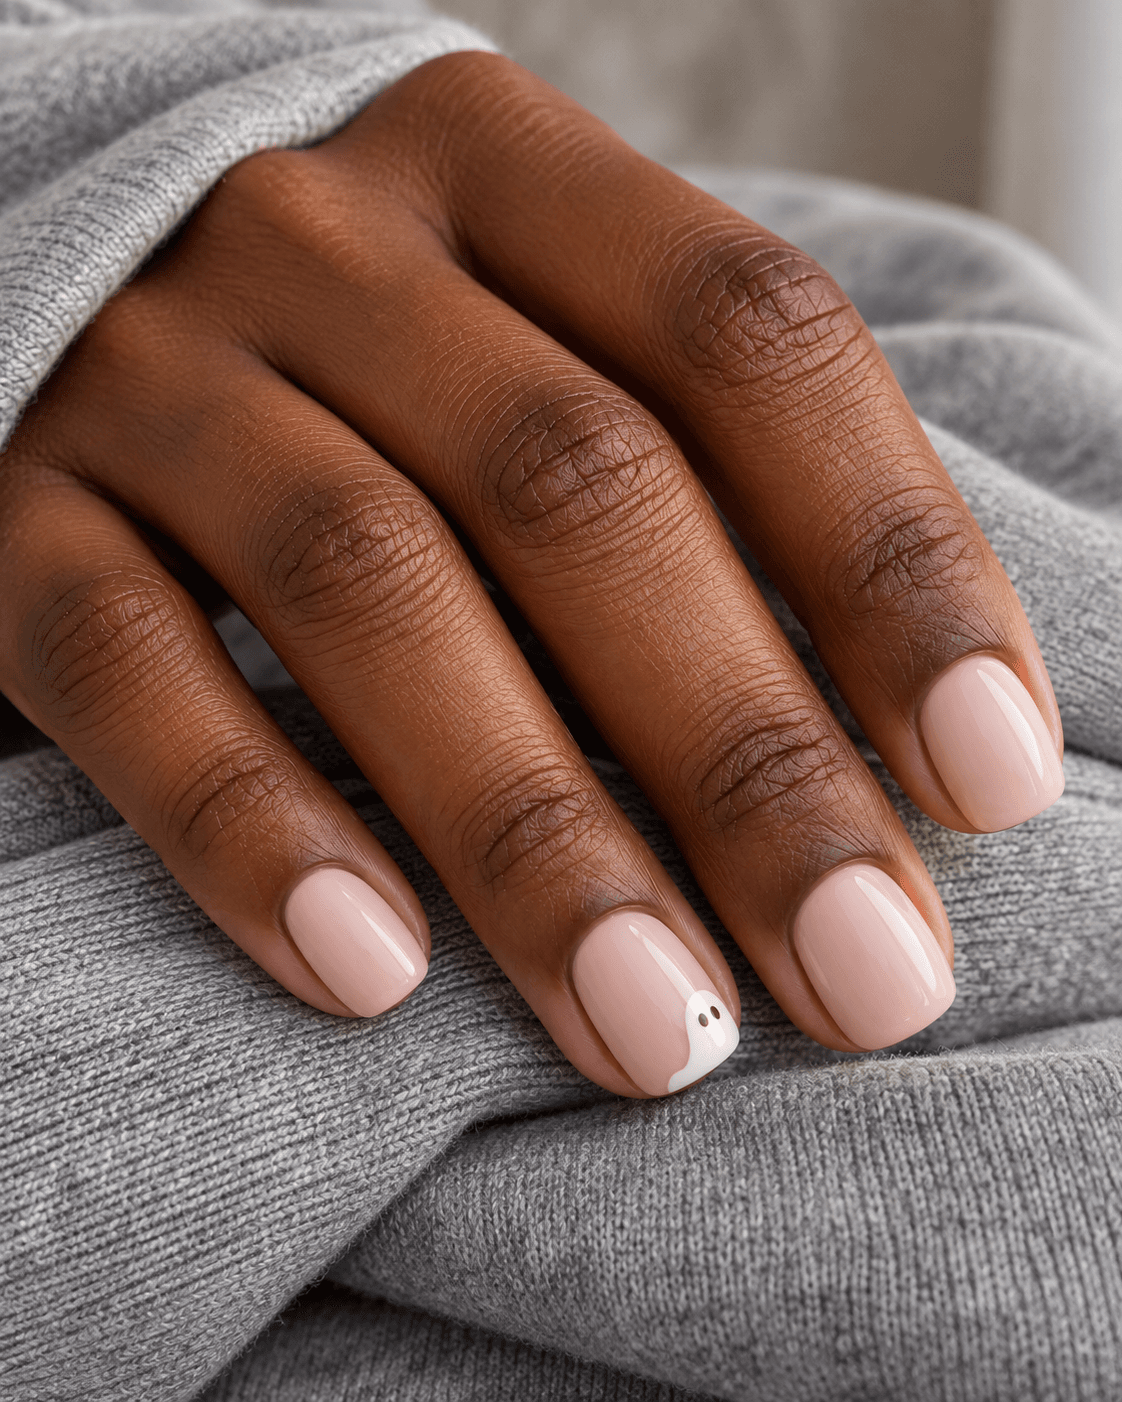
The starting thought: “Halloween, but just a little.”
Choose what “a little” means in visible terms: one symbol, a small area, and plain surrounding nails. You can compare different motifs in the subtle Halloween nail guide.
“The detail I like is the tiny white ghost on a pale base. I would like one small ghost near the outer tip corner of each ring nail, with all other nails plain milky pink. I want to discuss a short outline with softly rounded corners. The small scale matters more than extra facial details. I am leaving out webs, pumpkins, and black French tips. If a smaller version loses clarity, I am happy to discuss a simpler ghost outline. Please let me know whether this is a design you offer and how I should book it.”
Why it works: The brief describes the motif’s location and scale, then makes clear that the other Halloween elements in a saved collage are not part of the request.
A message you can send before an appointment
Here is a complete example for the plaid brief. Adapt the actual design and practical limits to your situation before sending it.
“Hello! I am interested in booking and have attached a reference for the look I would like to discuss. I am thinking of short oval nails, chocolate brown on most nails, and one oatmeal plaid ring nail on each hand. The image is a design concept; I am happy to discuss a simpler version if needed. Do you offer this kind of detail, which booking option would be appropriate, and could you confirm the expected time and total? Please let me know if you need any other information before I book. Thank you!”
This message gives the provider something specific to answer. If you have a firm time or spending limit, add it. If they ask for more information, answer directly rather than trying to infer the correct service from the picture alone.
Common questions about nail reference pictures
Is one picture enough?
Yes, if it clearly shows the look and you can explain any changes. Add a second image only when it answers something the first does not. A whole-hand view plus one detail crop can be more useful than several unrelated finished sets.
Can I bring an AI-generated nail image?
You can use one to discuss a visual idea, provided you identify it as a concept. Check it first for extra fingers, disconnected nails, inconsistent patterns, or confusing reflections. Even a convincing image does not establish a real technique, material, or finished result. Focus the conversation on the color and placement you want to explore.
What if I do not know the shape name?
Show the outline you mean and describe it in ordinary words. “Short with rounded corners” is a useful start. You can say which part of a reference is relevant without pretending to know the technical name.
Can I mix details from different references?
Yes, but label each image’s job. One can supply the color, another the placement. Decide which reference leads when they conflict. Combining two complete designs without priorities creates more ambiguity than borrowing one clearly identified detail from each.
What if the provider suggests a change?
Return to your priority: the narrow tip, the single accent, or the small motif. Ask how the suggestion affects it. You can agree on an alternative, ask for clarification, or take more time to decide. A brief supports that conversation; it is not a contract for an exact copy of an image.
The final check before you close your notes
- I have chosen one main reference.
- I can name the exact detail I like.
- My color and finish descriptions are separate.
- The layout explains both hands.
- My preferred length and outline are clear enough to discuss.
- I have one priority and a simpler alternative.
- I know which booking, timing, and price questions remain open.
You are ready when someone can read the brief without needing a guided tour of your saved folder. Keep the image, the important detail, and the layout together. That is enough to begin a much clearer conversation.
For more visual vocabulary, explore nail shapes explained, two- and three-color nail palettes, and the nail finish visual glossary.